
Creamy Philadelphia Cheesecake Filling: A Decadent Treat
What if the secret to a restaurant-quality dessert isn’t complicated techniques or rare ingredients—but a simple trio of pantry staples? The answer lies in a velvety, tangy-sweet creation that’s captivated dessert lovers for generations.Discover the secret to a decadent dessert with Philadelphia cheesecake filling. Get simple steps to create this creamy delight.
This iconic recipe transforms cream cheese, sugar, and eggs into a luxurious texture that melts on the tongue. Its popularity isn’t accidental—readers consistently rate it as their #1 go-to dessert, praising its reliability for birthdays, holidays, and everyday indulgences.
You’ll explore both classic baked and modern no-bake methods, adapting to your schedule without sacrificing richness. Discover how temperature control and mixing techniques create that signature smooth consistency other desserts struggle to match.
Beyond its simplicity, this formula serves as a blank canvas. Add citrus zest, swirl in fruit compote, or layer with caramel—each variation stays rooted in that timeless flavor balance perfected over decades.
Key Takeaways
- Master the gold standard for creamy texture using just three core ingredients
- Choose between traditional baked or quick no-bake preparation methods
- Understand the science behind achieving perfect consistency every time
- Adapt the base recipe with endless flavor combinations and toppings
- Learn why this dessert remains a crowd favorite across multiple generations
Understanding philadelphia cheesecake filling
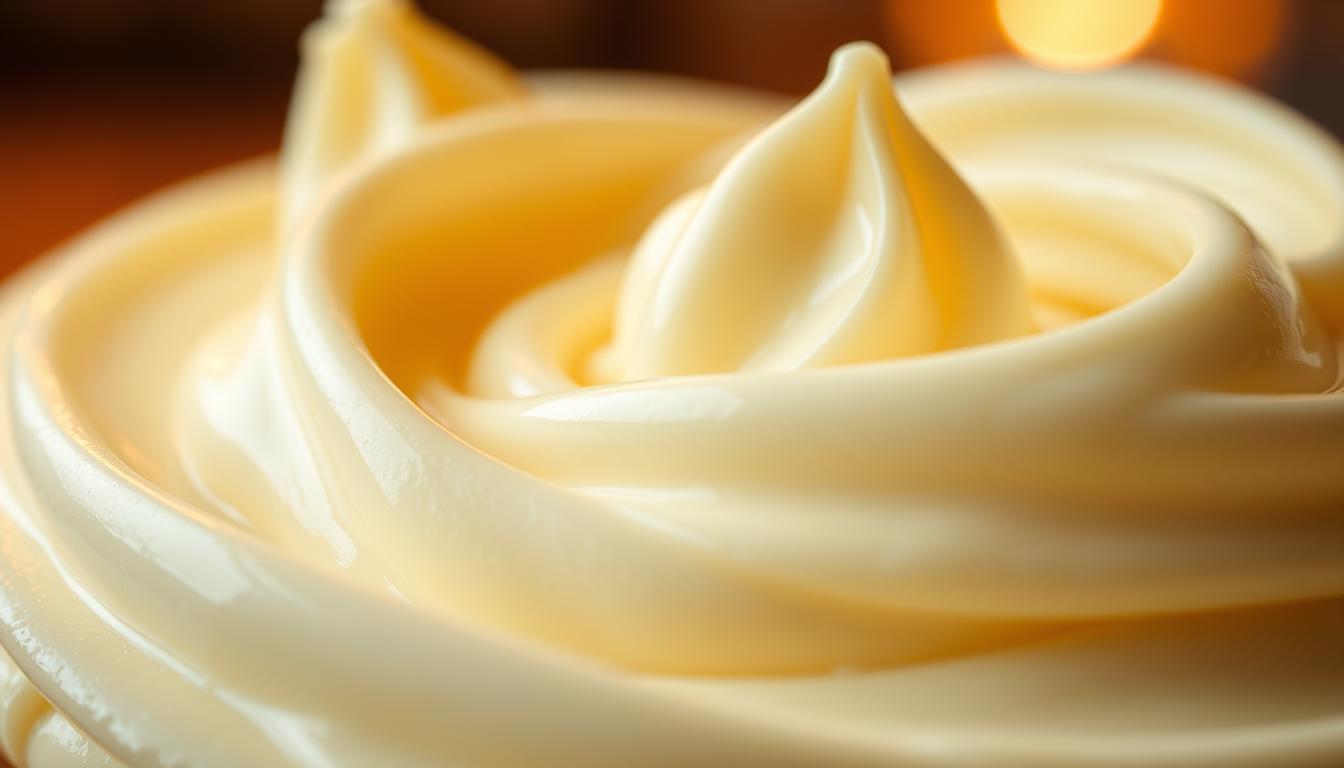
The magic of this dessert lies in its cloud-like texture that dances between richness and lightness. Unlike denser counterparts, it skips heavy additives while delivering bold flavor through smart ingredient ratios.
Defining the Creamy Experience
That signature smoothness comes from precise measurements. Too much sugar creates graininess, while insufficient mixing leaves lumps. When balanced perfectly, the mixture becomes silkier than whipped buttercream yet holds its shape when sliced.
Tanginess plays a crucial role too. The sharpness cuts through sweetness, creating layers of flavor that keep you reaching for another bite. This balance makes it pair equally well with tart berry coulis or rich chocolate ganache.
Why It Stands Out
Compare it to New York-style versions, and you’ll notice immediate differences. Those rely on sour cream for density, while our star ingredient keeps things airy. Even no-bake versions maintain structure without eggs or gelatin—just pure, velvety indulgence.
The right cream cheese brand matters. Those with 33% milk fat content whip better, creating stable peaks that don’t collapse. This ensures your dessert stays picture-perfect from fridge to table.
Versatility shines through crust pairings. Graham cracker remains classic, but try crushed pretzels for salty contrast or ginger snaps for spicy warmth. Each base elevates the creamy center differently, proving why this recipe dominates dessert menus nationwide.
Essential Ingredients for a Decadent Cheesecake
Great desserts start with intentional choices. Every component in this classic recipe serves a purpose, from stabilizing the texture to balancing flavors. Let’s break down what makes each element non-negotiable.
Choosing the Right Philadelphia Cream Cheese
Full-fat varieties work best for that signature silkiness. Brands with 33% milk fat whip into stable peaks, creating a luxurious base that holds its shape. Lower-fat options often leave mixtures grainy or prone to cracking.

Key Components: Graham Cracker Crust, Sugar, and More
Granulated sugar does double duty—it sweetens baked versions while acting as a stabilizer. For no-bake styles, powdered sugar blends smoother. Fresh eggs bind ingredients in traditional recipes, adding richness without heaviness.
A classic crust combines finely crushed crackers with melted butter. Press it firmly into your pan—this foundation prevents sogginess and adds crunch. Want to experiment? Swap in almond flour or chocolate wafers for new textures.
Vanilla extract lifts flavors subtly, but a dash of almond extract adds intrigue. For tangy brightness, mix in lemon juice or sour cream. These tweaks let you personalize while keeping the essential creamy character intact.
Building the Perfect Graham Cracker Crust
A stellar dessert foundation starts with precision. The right balance of crunch and sweetness elevates every bite, transforming simple ingredients into an edible masterpiece.
Ingredients and Proportions
Combine 1¼ cups graham cracker crumbs with ¼ cup melted butter in a large bowl. This golden ratio creates a cohesive cracker crust that holds its shape without becoming cement-like. For homemade crumbs, pulse whole graham crackers in a food processor until sandy—or crush them in a zip-lock bag using a rolling pin.
Press the mixture firmly into a 9-inch springform pan. Use the bottom of a glass to compact it evenly. Baked at 350°F for 8-10 minutes, it gains extra crispness. Unbaked versions work for no-chill desserts but offer softer texture.
Grease the pan lightly or line it with parchment for clean removal. Springform pans are non-negotiable—their removable sides prevent crust damage during serving. Experiment with gluten-free crackers or chocolate wafers for flavor twists.
Butter temperature matters. Properly melted (not hot) butter binds crumbs without making them greasy. Cool the baked crust completely before adding toppings to avoid sogginess.
Step-by-Step Baking Process
Mastering the art of creating a flawless dessert requires precision at every stage. Follow these techniques to transform simple ingredients into a velvety masterpiece that holds its shape while melting on the tongue.

Mixing, Preheating, and Combining Ingredients
Start by bringing all ingredients to room temperature—this prevents lumps and ensures even blending. In a large bowl, beat softened cream cheese with sugar at medium speed until just combined. Overmixing introduces excess air, which leads to cracks during baking.
Add eggs one at a time, mixing on low speed after each addition. “A perfectly baked dessert demands patience during cooling—rush this step, and you’ll sacrifice texture,” notes professional baker Elena Carter. Preheat your oven to 350°F while preparing the crust to maintain consistent heat.
| Common Issue | Cause | Solution |
|---|---|---|
| Surface Cracks | Overmixed batter | Mix at lower speeds |
| Grainy Texture | Cold ingredients | Warm components to 68°F |
| Soggy Crust | Early filling pour | Cool crust completely |
Achieving the Ideal Set and Texture
Bake until the center reaches 145°F—it should jiggle slightly like set gelatin. Turn off the heat and prop the oven door open with a wooden spoon. This gradual cooldown prevents sudden temperature shifts that cause structural flaws.
For clean slices, chill the dessert for 4 hours before serving. The result? A silky-smooth texture that maintains its integrity while delivering rich flavor in every bite.
Pro Tips to Prevent Cheesecake Cracks
Cracks in your dessert can turn a showstopper into a kitchen fail. These professional strategies eliminate common pitfalls while preserving that silky-smooth finish everyone craves.
Controlling Overmixing and Air Incorporation
Overenthusiastic blending creates tiny air pockets that expand violently in the oven. Mix ingredients at low speed—once combined, stop immediately. “Think of it as folding clouds, not kneading dough,” advises pastry chef Marco Visconti.
Room temperature components blend seamlessly, reducing mixing time. Cold cream cheese forces you to overwork the batter, increasing fracture risks. Let eggs and dairy sit out for 45 minutes before starting.
Mastering Gentle Cooling and Temperature Management
Sudden temperature drops shock delicate desserts. After baking, leave your creation in the turned-off oven with the door slightly open for 60 minutes. This gradual cooldown prevents surface tension from splitting.
A water bath provides insurance against cracks. Wrap your springform pan in heavy-duty foil, then place it in a roasting pan filled with 1″ hot water. The steam creates even heat distribution, preventing edge overcooking.
| Problem | Science Behind It | Pro Fix |
|---|---|---|
| Central Crack | Rapid cooling | Gradual oven cooldown |
| Edge Cracks | Dry heat exposure | Water bath insulation |
| Surface Lines | Over-aerated batter | Pulse mixing technique |
Pull your dessert at 145°F internal temperature—use an instant-read thermometer. Residual heat continues cooking during cooling, achieving perfect set without dryness. Chill for 4+ hours before slicing with a warm knife.
No-Bake Cheesecake Filling Variation
Who says you need an oven for a luxurious dessert? This chilled version delivers the same rich flavor with half the effort. Perfect for summer gatherings or last-minute cravings, it swaps baking time for refrigerator magic.
Mastering the Airy Texture
Start with room-temperature cream cheese—cold blocks create lumps. Whip it with powdered sugar until smooth, then blend in sour cream and lemon juice. “The secret to a perfect no-bake version lies in the whip and fold technique,” says Pastry Chef Amanda Torres.
Beat heavy cream separately until stiff peaks form. Gently fold it into the mixture using a spatula. This preserves air bubbles for a cloud-like texture. Low-fat dairy won’t work—35% milk fat is non-negotiable for structure.
| Factor | Baked Method | No-Bake Method |
|---|---|---|
| Texture | Dense & velvety | Light & mousse-like |
| Prep Time | 90 minutes active | 25 minutes active |
| Key Ingredient | Eggs | Whipped cream |
Chill your creation for at least six hours. This allows proteins in the dairy to set naturally without gelatin. The wait pays off—each slice holds its shape while melting on the tongue.
Powdered sugar dissolves completely, avoiding graininess. Vanilla adds warmth, while lemon brightens the flavor profile. Serve with fresh berries or a caramel drizzle for contrast.
This method shines when ovens are off-limits. Heatwave? No problem. Tiny kitchen? Even better. You’ll get all the decadence of traditional baked cheesecake without turning a dial.
Room Temperature and Preparation Essentials
Your dessert’s success starts long before mixing begins. Cold ingredients create stubborn lumps that no amount of blending can fix. Mastering this prep step ensures your base becomes silky-smooth rather than grainy.
Techniques to Soften Cream Cheese Effectively
Proper softening lets fat molecules relax for seamless blending. For best results, unwrap blocks and cut them into 1-inch cubes. Spread pieces on a plate to warm evenly at room temperature for 60-90 minutes.
Need speed? Use your microwave’s 50% power setting. Heat cubes in 15-second bursts, flipping between intervals. Stop when the cream cheese yields gently to pressure—overheating melts fats and ruins texture.
Foil-wrapped blocks soften faster than tub varieties. Test readiness by pressing a cube with your finger. Perfectly softened cream cheese should dent like chilled butter but hold its shape.
Plan ahead when possible. Natural warming preserves structure better than quick fixes. Either method works—just avoid letting your base ingredient get warmer than 72°F for ideal results.


