
Indulgent Turtle Cheesecake: A Decadent Treat
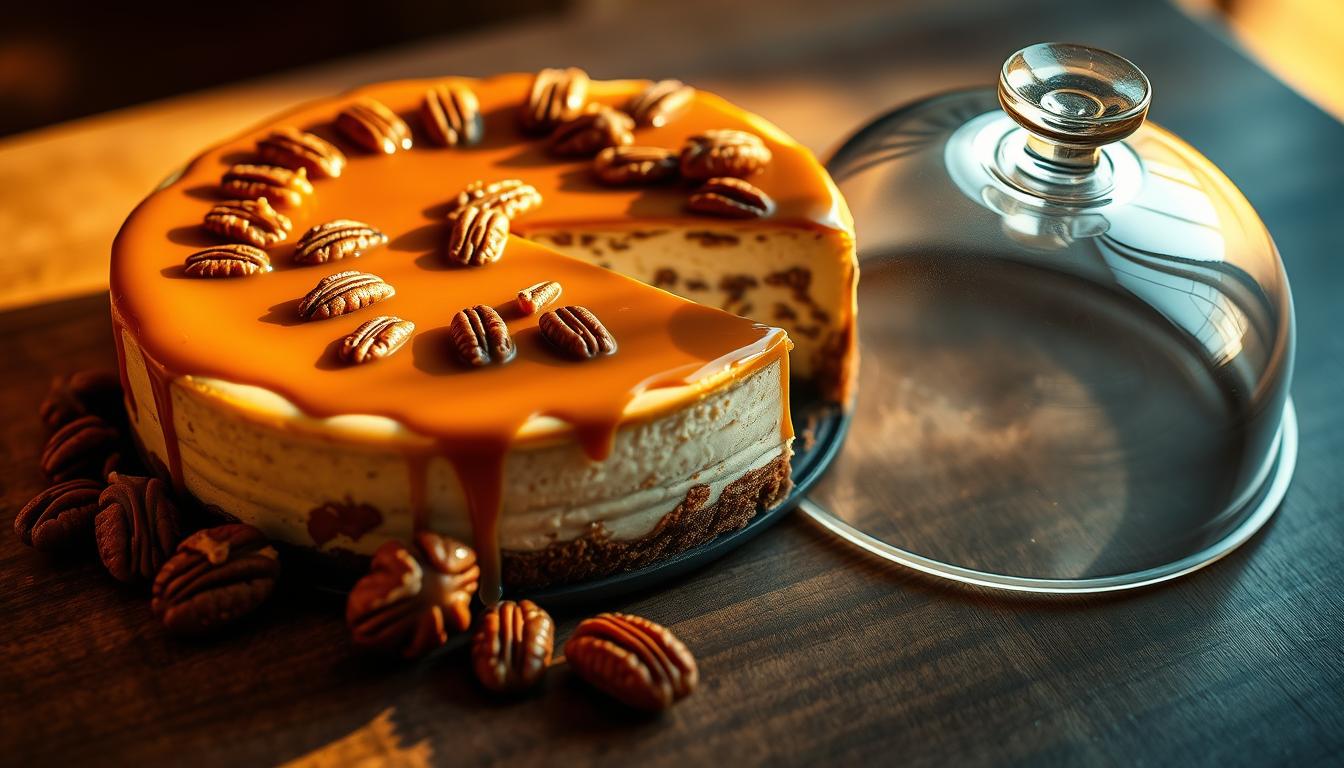
What if your favorite candy could transform into an elegant dessert? Imagine biting into a rich, creamy creation that combines caramel swirls, chocolate layers, and crunchy pecans—all in one unforgettable slice.
This luxurious twist on classic flavors has become the ultimate upgrade for special occasions, holiday gatherings, and dinner parties.Indulge in our rich turtle cheesecake recipe, featuring caramel, pecans, and chocolate. Get the easy-to-follow instructions n
The secret lies in its triple-layer magic. A chocolate cookie crust anchors the dessert, followed by a velvety filling rippled with caramel. Topped with melted chocolate, toasted pecans, and extra caramel drizzle, every bite offers sheer indulgence. It’s not just sweetness—it’s a textural bliss of crisp, creamy, and crunchy elements.
Why choose this over traditional options? Unlike basic versions, this treat balances sweet and salty notes while delivering visual drama. Perfect for impressing guests or treating yourself, it turns ordinary moments into celebrations. Ready to discover how to craft this masterpiece?
Key Takeaways
- Combines caramel, chocolate, and pecans in layered cheesecake form
- Features contrasting textures from crunchy crust to creamy filling
- Ideal for holidays, parties, or upscale dessert menus
- Balances rich sweetness with subtle salty undertones
- Requires simple techniques for showstopping results
Overview and Inspiration
Discover the story behind a candy-inspired masterpiece. Long before this dessert existed, its flavors traveled through generations in bite-sized form. Let’s explore how a playful confection became the blueprint for something extraordinary.
The Origins of Turtle Flavors
In the early 1900s, candymakers crafted a treat resembling tiny reptiles. They pressed pecans into caramel clusters to mimic legs, then draped them in chocolate “shells.” The whimsical design stuck—and so did the name. These sweets gained fame as holiday staples, their salty-sweet profile cutting through seasonal richness.
What Makes This Recipe Unique
While traditional versions focus on toppings, this creation weaves caramel and chocolate into every layer. The crust uses crushed cookies blended with melted chocolate, while the filling swirls velvety caramel into its core. Toasted pecans appear both inside and outside, creating a harmony of textures.
You’ll notice thoughtful details: high-quality cocoa balances sugary elements, and sea salt enhances the caramel’s depth. Unlike basic desserts, every component plays a role—no single note overpowers another. It’s nostalgia reimagined, perfect for modern palates craving complexity.
Essential Ingredients and Preparation
Behind every showstopping dessert lies a carefully curated selection of components. Let’s break down the building blocks that create harmony in every bite and the prep techniques that ensure flawless execution.
Key Elements: Caramel, Pecans, and Chocolate
Quality matters most with these three stars. Use semi-sweet chocolate chips for balanced sweetness that won’t overpower the caramel sauce. Toast raw pecans at 350°F for 8 minutes to intensify their nutty flavor before chopping.
For homemade caramel, combine granulated sugar with butter and room-temperature heavy cream. This prevents crystallization and creates silky texture. Store-bought alternatives work, but lack the depth of fresh batches.
Prepping Your Ingredients at Room Temperature
Cream cheese must soften completely to avoid lumpy batter. Leave blocks on the counter for 2 hours or microwave wrapped in parchment paper for 20-second intervals. Cold eggs? Submerge them in warm water for 5 minutes.
- Butter blends smoothly into caramel when warmed
- Chocolate melts evenly at 70-75°F room temperature
- Cold ingredients cause overmixing, leading to cracks
Pro tip: Measure everything before starting. This prevents rushed temperature adjustments mid-recipe and ensures consistent results.
Step-by-Step Baking Process
The foundation of every memorable dessert begins with precision in preparation. Let’s explore the essential techniques that transform simple ingredients into a flawless base and ensure even baking.
Crafting the Perfect Crust
Choose between two textural masterpieces. For a nutty crunch, mix graham cracker crumbs with finely chopped pecans. Chocolate lovers can pulse 22 regular Oreo cookies (filling included) into fine crumbs. Blend either option with melted butter until it resembles wet sand.
| Crust Type | Ingredients | Bake Time |
|---|---|---|
| Graham-Pecan | 1.5 cups crumbs + 1/2 cup pecans + 5 tbsp butter | 10 mins @325°F |
| Chocolate Cookie | 22 Oreos + 4 tbsp butter | 10 mins @325°F |
Press mixture firmly into your springform pan using a flat-bottomed glass. Bake until edges darken slightly—this creates a moisture barrier. Cool completely before adding filling.
Baking with a Water Bath
Wrap the pan tightly in heavy-duty foil. Place it in a roasting dish and pour boiling water until halfway up the sides. This gentle heat prevents cracks and ensures creamy texture.
Bake at 300°F for 75-90 minutes. The edges should pull away slightly when done, while the center wobbles like set gelatin. Turn off the oven and crack the door for one hour—this prevents sudden temperature shocks.
Mastering Turtle Cheesecake Techniques
Elevate your dessert game with techniques that balance science and artistry. While most recipes focus on assembly, true mastery comes from understanding how ingredients interact to create depth. Let’s explore the methods professionals use to achieve that signature harmony.

Optimizing Texture and Flavor
Brown sugar works harder than white in the batter. Its molasses content adds caramel notes that blend seamlessly with homemade caramel sauce. This reduces the need for extra sweeteners while amplifying richness.
Build your filling in strategic layers. Pour half the batter into the crust, then drizzle ¼ cup caramel sauce. Use a knife to swirl it gently—like folding ribbons into clouds. Add remaining batter, letting the caramel melt invisibly during baking while flavor permeates every bite.
Sour cream isn’t optional. It introduces a velvety texture and subtle tang that cuts through sweetness. Without it, you’d have dense cream cheese with no contrast. A teaspoon of lemon juice brightens the profile, preventing flavor flatness.
Want silky-smooth results? Ensure all ingredients reach room temperature before mixing. Cold items cause overworking, which leads to cracks. Patience here pays off in both structure and mouthfeel.
Pro Tips for Creamy Consistency and Presentation
Perfecting texture requires understanding how ingredients interact with heat and motion. While recipes provide measurements, true mastery comes from controlling variables most bakers overlook. Let’s explore how temperature management and mixing precision elevate your results.
Temperature and Mixing Guidelines
Cold ingredients create chaos in delicate batters. Make sure your eggs sit at room temperature for 30 minutes before blending. Add them one at a time on low speed, mixing just until yellow streaks disappear. Over-beating incorporates excess air, leading to cracks as trapped bubbles expand during baking.
Your oven door stays shut until the timer dings. Opening it releases hot air while letting cooler kitchen drafts rush in. This sudden shift causes uneven cooking and surface fractures. If edges brown too fast, tent foil over the pan after 60 bake minutes—never earlier.
| Common Mistake | Result | Fix |
|---|---|---|
| High-speed mixing | Air-filled batter | Use paddle attachment on medium-low |
| Cold eggs | Lumpy mixture | Soak in warm water 5 minutes |
| Rapid cooling | Cracks | Let dessert rest in turned-off oven |
Gradual cooling prevents structural collapse. After baking, crack the oven door 1 inch and let the dessert adjust for 60 minutes. This slow temperature drop keeps the center creamy while stabilizing the outer edges.
“Treat your batter like fragile silk—gentle folds, no whipping.”
Remember: smooth surfaces come from patient techniques, not rushed steps. Your final mixture should pour like heavy cream, leaving no streaks on the spatula. Follow these guidelines, and you’ll achieve velvety perfection every time.
Creative Variations and Personalization Ideas
Transform your dessert into a signature masterpiece by rethinking its core components. Swapping ingredients lets you highlight favorite flavors while keeping the iconic caramel-chocolate-pecan harmony intact.

Alternative Crust and Topping Options
Your crust sets the stage. Try these textures:
- Biscoff cookies: Adds warm spice notes
- Crushed shortbread: Delivers buttery richness
- Nilla wafers: Offers vanilla sweetness
For toppings, swap chocolate chips with chopped bars. Semi-sweet melts smoothly, while milk varieties add creaminess. Toast pecans at 300°F for 8 minutes to amplify their nutty depth.
| Chocolate Type | Best Use | Melting Temp |
|---|---|---|
| Dark (70%) | Drizzling | 115°F |
| Milk | Ganache | 104°F |
| White | Swirls | 100°F |
Adding a Personal Twist to Your Recipe
Infuse caramel with sea salt or espresso powder for complexity. Layer mini chocolate chips between batter pours for surprise bursts. Seasonal touches work wonders—try peppermint bark during holidays or orange zest in fall.
Presentation matters. Pipe whipped cream rosettes between pecans, or dust cocoa powder through stencils. Remember: every tweak should enhance—not overwhelm—the core flavors that make this dessert unforgettable.
Serving, Storing, and Enjoying Your Decadent Dessert
Your masterpiece needs four hours minimum in the fridge to set properly. This chilling time lets flavors meld while creating a sliceable texture. For best results? Let it rest overnight—the caramel sauce will thicken, and chocolate layers firm up beautifully.
Planning ahead? Bake it 1-2 days before your event. Cover the top with plastic wrap, using toothpicks to create a tent. This prevents condensation from ruining your glossy finish. Store it on the fridge’s middle shelf—not the door—to avoid temperature swings.
Freezing works wonders for busy schedules. Wrap the whole dessert in three layers of plastic, then foil. Thaw it slowly in the fridge for 12 hours before adding fresh toppings. Leftovers keep up to five days if sealed tightly.
For flawless slices, dip your knife in hot water between cuts. Wipe the blade dry each time to maintain clean edges. Serve chilled but not icy-cold—20 minutes out of the fridge lets flavors shine.
Garnish with extra pecans and a drizzle of warm caramel sauce right before serving. Pair each piece with black coffee or vanilla ice cream to balance richness. Every bite should deliver that iconic crunch-creamy contrast your guests crave.
Conclusion
This decadent creation proves that classic flavors can become extraordinary experiences. By blending caramel swirls, melted chocolate, and toasted pecans into each layer, you craft more than dessert—you create edible art.
Balance remains key. The contrast between silky filling and crunchy crust keeps every bite exciting. Yet despite its elegance, the techniques stay approachable for home bakers. Simple steps yield professional-quality results.
Whether hosting a dinner party or craving a personal treat, this turtle cheesecake delivers satisfaction. It’s perfect for celebrations yet adaptable enough for weeknight indulgences. The harmony of sweet and salty notes appeals to diverse palates.
Remember: great desserts tell stories through texture and taste. With each slice, you’re sharing a legacy of flavor innovation. Now go transform your kitchen into a patisserie—your masterpiece awaits.


