Low-Carb Chicken Crust Pizza Recipe – High Protein & Delicious
Imagine biting into a savory slice that satisfies cravings and aligns with your health priorities. Traditional dough-based options often leave nutrition-conscious eaters choosing between flavor and wellness. But what if you could enjoy a protein-packed version that holds its shape under generous toppings?
Discover a delicious and healthy chicken crust pizza recipe. Learn how to make a high-protein, low-carb pizza that’s perfect for your diet.
This innovative approach transforms ground poultry into a golden, crispy base using just six simple ingredients. Unlike soggy cauliflower alternatives, the texture resembles classic thin-crust varieties – sturdy enough for sauce and melted cheese. A single serving delivers nearly a day’s worth of protein while keeping carbs under 12 grams.
Perfect for busy weeknights, the entire process takes under 40 minutes. You’ll combine seasoned meat with binding agents, bake until firm, then layer with your preferred garnishes. Fitness enthusiasts and keto dieters praise its ability to curb hunger without carb crashes.
Why settle for compromises when your meals can support both taste buds and macros? This method proves that smart ingredient swaps don’t mean sacrificing satisfaction. Let’s explore how to create this game-changing dish that’s reshaping pizza night across American kitchens.
Key Takeaways
- Replaces traditional dough with a high-protein meat base
- Requires only 35-40 minutes from prep to plate
- Contains 88g protein and 11g carbs per serving
- Works with keto, low-carb, and gluten-free diets
- Holds toppings securely without crumbling
- Uses accessible ingredients like Parmesan and Italian seasoning
Introduction and Benefits
Balancing flavor and nutrition often feels like a compromise. Traditional favorites usually demand sacrifices, but this innovative dish changes the game. Forget battling soggy bases or cardboard-like textures – this creation delivers satisfaction without sidelining your goals.

Overview of the Recipe
Seasoned ground poultry forms the foundation, mixed with binding agents for structural reliability. Parmesan cheese adds crispness while Italian herbs infuse depth. You’ll shape the mixture into a thin circle, bake until golden, then layer with vibrant toppings.
The process skips tedious steps like dough proofing. In under 40 minutes, you’ll have a meal that fuels your body and excites your palate. Customization is effortless – swap seasonings or sauces to match any craving.
Why This Method Stands Out
Unlike cauliflower alternatives that crumble under pressure, this base maintains integrity slice after slice. The high-protein composition keeps you fuller longer, reducing post-meal snacking urges. “Finally, a version that doesn’t taste like punishment,” remarked one fitness blogger.
| Feature | This Recipe | Other Alternatives |
|---|---|---|
| Preparation Time | 35-40 minutes | 60+ minutes |
| Base Texture | Crispy & sturdy | Often soggy |
| Protein per Serving | 88g | 12-25g |
| Dietary Friendly | Keto, gluten-free | Limited options |
Macro-conscious eaters appreciate the 11g net carbs per serving. Busy households benefit from its freezer-friendly nature – make batches ahead for stress-free dinners. Whether paired with a fresh salad or enjoyed solo, it redefines what “healthy eating” can taste like.
Essential Ingredients and Kitchen Tools
Creating a nutrient-dense base starts with strategic ingredient selection and reliable equipment. Quality components ensure structural stability while maximizing flavor potential.
Key Ingredients You Need
Freshly ground poultry (450g) forms the protein-rich foundation. Opt for 93% lean meat for optimal texture – too fatty creates greasiness, while extra-lean varieties risk dryness. Two large eggs bind the mixture, preventing crumbles during slicing.
Finely grated Parmesan (½ cup) adds crispness without carbs. Avoid pre-shredded options containing cellulose. The seasoning trio – garlic powder, Italian herbs, and black pepper – delivers classic flavor without added sugars.
Must-Have Kitchen Equipment
A rimmed baking sheet traps juices released during cooking. Line it with parchment paper – silicone mats can trap moisture, causing sogginess. For uniform thickness, use your hands instead of rolling pins to press the mixture.
Standard ovens work best when preheated to 400°F. Avoid perforated pans that let liquids drip through. If customizing toppings, keep a paper towel handy to blot excess moisture from vegetables before baking.
Step-by-Step Instructions
Perfecting your protein-packed creation demands attention to timing and technique. These phases ensure structural integrity while maximizing flavor delivery.

Preparation and Mixing
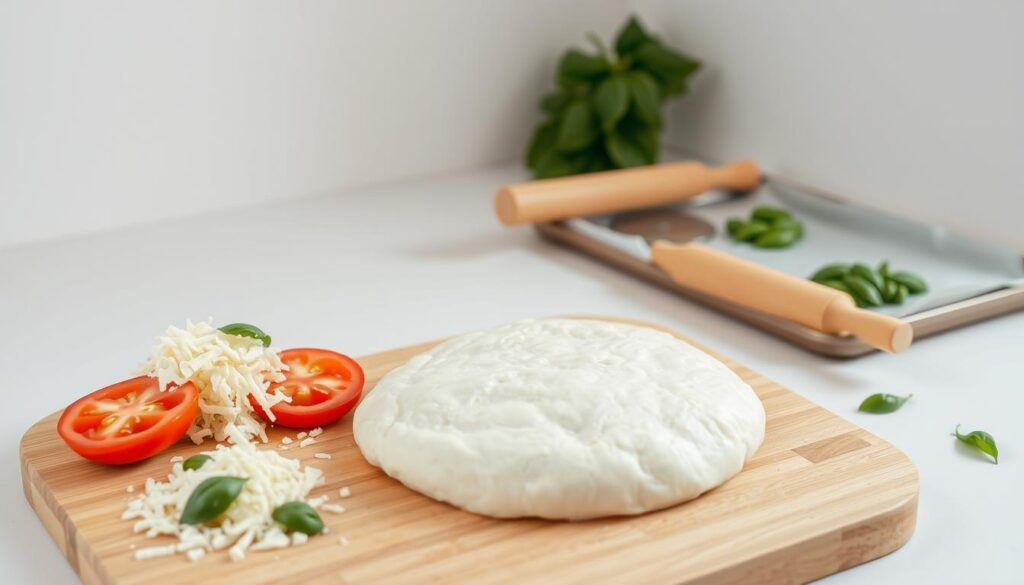
Preheat your oven to 400°F while lining a rimmed baking sheet with parchment. Combine 1 pound of ground poultry, two eggs, and ½ cup grated parmesan in a large bowl. Work in 1 teaspoon each of garlic powder and Italian seasoning until fully incorporated.
Transfer the mixture onto your prepared surface. Use damp hands to press it into a ¼-inch thick circle – uneven spots lead to inconsistent browning. Smooth edges prevent cracking during the initial bake.
Baking and Setting the Crust
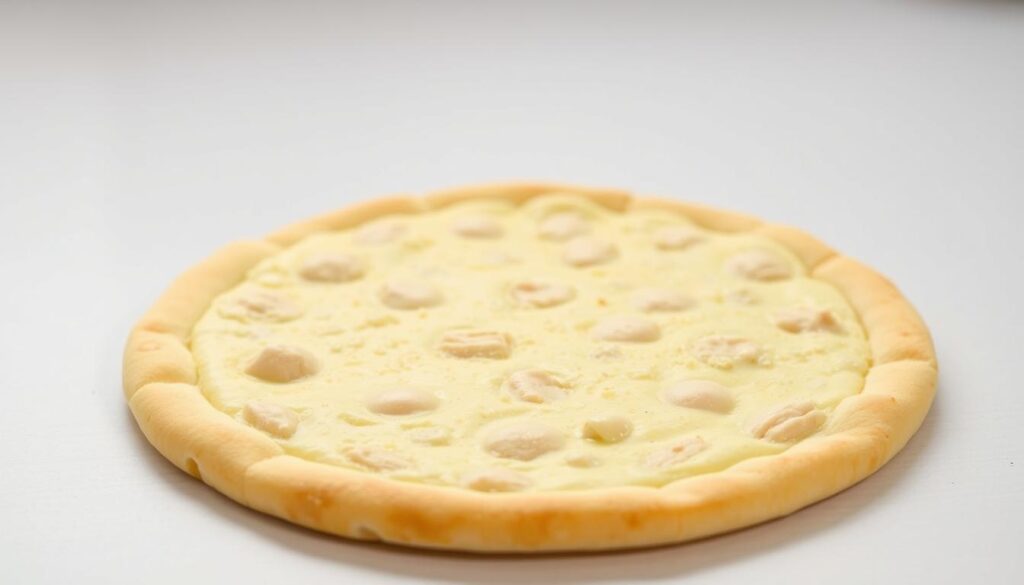
Slide the sheet into the middle rack for 25 minutes. Watch for golden edges and a firm center – these signal proper moisture evaporation. Let rest 5 minutes; this cooling period locks in structure.
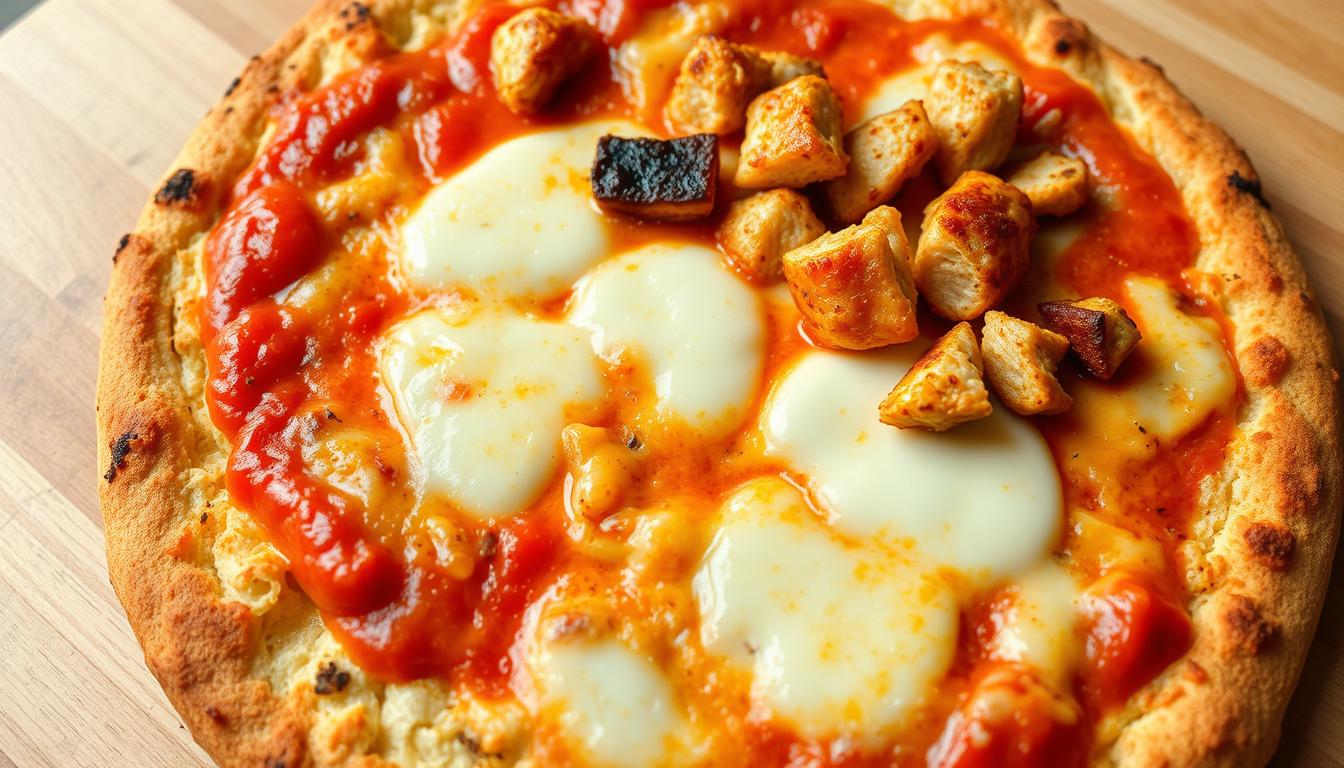
Boost heat to 425°F. Spread sauce lightly, leaving a border to prevent sogginess. Add cheese and toppings, then bake 8-10 minutes until bubbly. “The temperature shift creates ideal texture contrast,” notes a professional chef.
Perfecting Your chicken crust pizza recipe
Mastering this dish requires balancing technique with smart ingredient choices. Small adjustments during preparation ensure every slice delivers optimal texture and flavor.
Tips for a Crispy and Even Crust
Press the mixture to ¼-inch thickness using damp hands – uneven surfaces bake inconsistently. Freshly grated parmesan absorbs moisture better than pre-shredded varieties, creating a golden finish. Let the base rest 5 minutes after initial baking to lock in structure before adding toppings.
Boost your oven to 425°F for the final bake. This temperature caramelizes cheese while crisping edges. Season the meat blend generously – undersalted bases taste bland against zesty sauces.
How to Avoid a Soggy Middle
Blot vegetables with paper towels to remove excess water. Spread sauce sparingly, leaving a ½-inch border around the edges. Use parchment-lined sheets rather than dark pans, which can over-brown the bottom before the center sets.
Pre-bake the crust until firm – look for golden edges lifting from the sheet. Layer toppings lightly, prioritizing protein and low-carb vegetables over watery ingredients. These steps maintain structural integrity from first bite to last.


