
Bang Bang Chicken Recipe – Sweet, Spicy, and Addictively Good
What if you could recreate a restaurant-quality dish in under 30 minutes—one that balances creamy, spicy, and sweet flavors so perfectly it becomes impossible to stop eating?
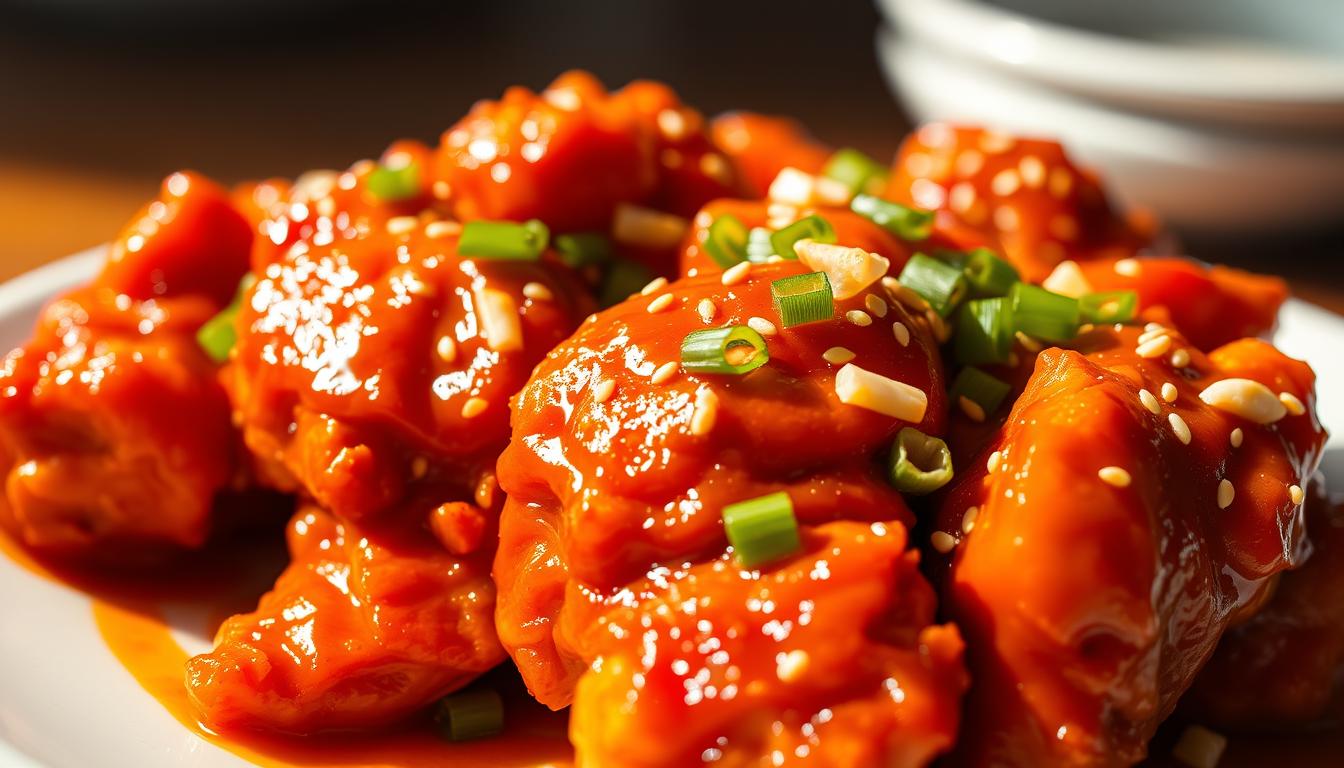
This isn’t takeout magic. It’s a simple, crowd-pleasing meal you can make at home with ingredients already in your pantry.Make our bang bang chicken recipe for a flavorful meal that’s both sweet and spicy. Easy to prepare and sure to become a favorite.
The secret lies in the sauce. A trio of mayo, Thai sweet chili, and sriracha creates a velvety coating that clings to crispy, tenderized pieces. Unlike fried foods that lose their crunch quickly, this method uses cornstarch for a light yet durable texture.
Perfect for busy nights or entertaining, it’s a versatile dish that works as a main course, appetizer, or even a next-day snack.
Best of all? You control the heat. Adjust the sriracha to suit your taste, skip the buttermilk for a dairy-free option, or swap proteins entirely. No matter how you customize it, every bite delivers a flavor explosion that’ll make you forget about takeout menus.
Key Takeaways
- Combines sweet, spicy, and creamy flavors in one irresistible dish
- Uses simple ingredients for restaurant-quality results at home
- Ready in 30 minutes for quick weeknight meals or last-minute gatherings
- Customizable spice levels and protein options for dietary preferences
- Maintains crispy texture better than traditional fried chicken methods
Introduction to Bang Bang Chicken
The rhythmic clang of a cleaver on wood once signaled something special in Sichuan’s markets. Vendors tenderized meat with theatrical flair, creating bite-sized pieces that soaked up bold sauces. This humble street food crossed oceans and evolved into a crave-worthy meal that’s equal parts tradition and innovation.
What Makes This Recipe Stand Out
Unlike many fusion dishes, this version honors its roots while simplifying techniques. The original cold preparation gets a crispy makeover, pairing tender meat with a velvety sauce that clings to every nook. Sweet chili and mayo blend seamlessly, offering a creamy contrast to the crunch.
Modern twists make it adaptable. Skip takeout containers—your skillet achieves the same golden texture using pantry staples. Whether you air-fry or pan-sear, the result stays juicy inside with a shatteringly crisp coating.
A Brief Look at Its Origins
Born in 19th-century China, the dish earned its name from the pounding method used to shred meat. Street carts served it chilled with peanut sauce, but American chefs reimagined it as a hot entrée. Today’s versions balance heat and sweetness, reflecting a delicious cultural exchange.
You’ll notice one key shift: the sauce. Traditional recipes relied on sesame paste, while modern iterations use mayo for richness. This swap makes ingredients accessible without sacrificing the signature kick of chili and garlic.
Key Ingredients and Equipment
Great meals start with quality components. This dish thrives on balancing crunch with creamy heat, requiring specific items to achieve its signature profile. Let’s break down what you’ll need to transform simple elements into something extraordinary.
Essential Ingredients for Flavor
Boneless, skinless thighs work best here—their higher fat content keeps meat juicy during cooking. While breasts are leaner, they risk drying out. For the coating, cornstarch creates a lighter crisp than flour. Neutral oils like avocado handle high heat without smoking.
Buttermilk’s acidity breaks down proteins, ensuring tenderness. No buttermilk? Mix milk with lemon juice. The sauce trio—Japanese mayo, sweet chili, and sriracha—delivers creaminess with adjustable heat. Fresh garlic powder adds depth without overpowering.
Must-Have Kitchen Tools
A 10-inch non-stick pan ensures even cooking and easy cleanup. Tongs let you flip pieces safely, while a sturdy mixing bowl handles marinating and sauce blending. Measuring cups guarantee the ideal sauce ratio—too much mayo mutes the chili kick.
Don’t skip the kitchen scale. Precise weights prevent over-seasoning. Tweezers remove stray bones from thighs, and a sharp knife ensures clean cuts. Together, these tools streamline prep for consistent results every time.
Marinating and Preparing the Chicken
Success starts long before the skillet heats up. How you handle your protein during prep determines whether you’ll get juicy bites or dry disappointments. Let’s break down the choices and techniques that elevate this dish from basic to brilliant.
Choosing Chicken Thighs vs. Chicken Breast
Thighs win for flavor and texture every time. Their higher fat content acts like a built-in moisture shield during cooking. Breasts, while leaner, often turn stringy under high heat. Uniform 1.5-inch pieces ensure everything cooks evenly—no half-raw centers here.
Step-by-Step Marination Process
Dice your thighs and toss them in buttermilk for 10-12 minutes. The lactic acid works fast to tenderize without making meat mushy. Grilling? Swap buttermilk for olive oil and spices. Let it sit 2+ hours—overnight marinating lets flavors penetrate deep.
Pat pieces dry before seasoning. This simple step helps coatings stick better. Whether frying or grilling, even marinade distribution is non-negotiable. Rotate pieces halfway through marinating for maximum flavor absorption.
Seasoning and Breading Techniques
Texture and taste collide in this critical phase. The right blend of spices and coating method transforms ordinary pieces into crave-worthy bites. Let’s explore how to build flavor layers that stick—literally.

Mixing Dry Spices for Optimal Flavor
Combine ½ teaspoon garlic powder, ¼ teaspoon black pepper, and a pinch of chili powder in a bowl. Whisk thoroughly—uneven distribution creates bland spots. For grilled versions, add onion powder and garlic salt to the mix. This creates a savory base that clings to olive oil during cooking.
Tips for a Perfect Coating
Dredge each piece in cornstarch, pressing gently to help it adhere. Shake off excess—thick clumps burn instead of crisping. Unlike flour, cornstarch forms a delicate shell that stays crunchy under sauce. Always season the coating before adding your protein for balanced flavor in every bite.
Pro tip: Let coated pieces rest 5 minutes before cooking. This gives the starch time to hydrate, creating that golden, shatter-crisp exterior you love in restaurant dishes.
Frying and Grilling Methods for Chicken
Crispy textures meet smoky aromas in this crucial cooking phase. Whether you prefer golden fried bites or charred edges from the grill, proper technique makes all the difference. Let’s explore how to lock in moisture while achieving that satisfying crunch.
Best Practices for Frying to Crispy Perfection
Heat ¼ inch of vegetable oil in a pan over medium heat. Test readiness by sprinkling cornstarch—if it sizzles immediately, you’re at 350°F. Fry pieces in 2-3 batches, leaving space between each. Overcrowding drops the oil’s temperature, creating greasy results.
Cook 3-4 minutes per side until golden brown. Use tongs to flip gently, preserving the coating. Drain on a wire rack instead of paper towels—this keeps the exterior crisp by preventing steam buildup.
Grilling Techniques for Smoky Flavor
Thread marinated pieces onto skewers for easy handling. Preheat the grill to medium-high (400-450°F). Place them diagonally across grates for attractive char marks. Rotate every 2 minutes to ensure even cooking.
Check doneness with a meat thermometer. Insert it into the thickest piece—165°F guarantees safety without dryness. Let rest 5 minutes before serving to redistribute juices.
| Method | Ideal Temperature | Cooking Time | Key Benefit |
|---|---|---|---|
| Frying | 350°F oil | 3-4 min/side | Ultra-crispy coating |
| Grilling | 400-450°F grill | 10 min total | Smoky flavor infusion |
Both methods require attention to heat management. Adjust burners or coal placement if using charcoal. For extra crispiness when frying, double-fry pieces at 375°F for 60 seconds after initial cooking.
Creating the Signature Bang Bang Sauce
The magic happens when three simple ingredients collide in perfect harmony. This creamy blend transforms ordinary pieces into crave-worthy bites that keep forks moving back for more.

Ingredients for the Creamy, Sweet, and Spicy Sauce
Your flavor foundation starts with Japanese mayo—its richer texture and subtle tang outshine regular varieties. Sweet Thai chili sauce brings fruity heat, while sriracha adds adjustable firepower. Grilled versions benefit from honey’s balancing sweetness.
| Version | Mayo | Sweet Chili | Sriracha | Honey |
|---|---|---|---|---|
| Standard | ½ cup | ¼ cup | 2 tbsp | – |
| Grilled | 1¼ cups | ⅔ cup | 1 tbsp | 2 tbsp |
How to Mix the Sauce Effortlessly
Whisk components in a small bowl until streaks disappear. Aim for a smooth, uniform texture with that iconic orange-pink hue. Pro tip: Reserve half the mixture before cooking—this prevents cross-contamination and ensures maximum crispness during final coating.
For grilled preparations, add honey last. Its viscosity requires extra stirring to fully incorporate. Test heat levels by dipping a spoon—adjust sriracha if needed. Properly mixed sauce should cling to surfaces without dripping immediately.
Crafting the Perfect bang bang chicken recipe
The final assembly transforms good components into greatness. Timing and technique determine whether you’ll achieve that iconic balance of crunch and creaminess. Let’s break down the make-or-break steps that elevate this dish from tasty to unforgettable.
Integrating Sauce With Crispy Chicken
Transfer hot pieces straight from the pan to a large mixing bowl. Pour half the prepared sauce over them immediately—the heat helps the coating absorb flavors without turning soggy. Use silicone-tipped tongs to gently toss, ensuring each piece gets evenly coated while preserving its crisp texture.
For grilled versions, brush skewers with reserved sauce after cooking. This creates a layered flavor profile—charred smokiness from the grill meets the sauce’s creamy sweetness. Always work quickly to maintain ideal temperature and texture.
Key Tips From Experienced Cooks
Divide your sauce into two portions. Use one for initial coating and reserve the rest for finishing touches. This prevents over-saucing and lets you adjust flavors at the last moment. Fresh garnishes like chopped scallions add brightness that cuts through richness.
Serve within 5 minutes of saucing for peak crispness. Prep sides and plates beforehand to avoid delays. Remember: every second counts when preserving that golden exterior everyone craves.
Alternative Variations and Dietary Adjustments
Your kitchen, your rules—this dish adapts to any diet without losing its fiery charm. Whether avoiding meat or managing food sensitivities, simple swaps let everyone enjoy bold flavors.
Plant-Based and Allergy-Friendly Twists
Replace animal protein with pressed extra-firm tofu cut into 1-inch cubes. Marinate using soy milk mixed with lemon juice for dairy-free tenderness.
Gluten-free sweet chili sauce maintains the signature tang while keeping coatings crisp. These adjustments slash fat content by 30% compared to traditional versions.
Controlling the Heat Factor
Too spicy? Halve the sriracha and add 1 tsp honey to balance flavors. For extra kick, mix in gochujang paste. Garnish with lime wedges—their vitamin C brightens rich sauces naturally. Remember: you control the sugar levels by choosing low-carb sweeteners in homemade chili blends.
With these tweaks, you’ll craft crowd-pleasing recipes that cater to diverse needs. The base formula remains versatile enough to handle any creative twist you make.


